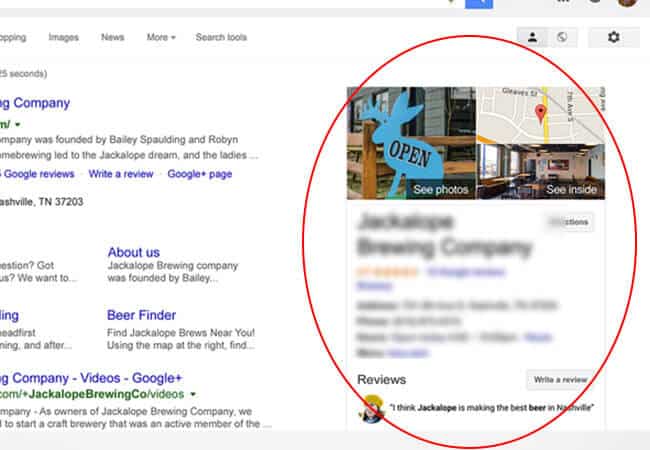
Figure https://seoexpertbrad.com/google-my-business-optimization/
Google is the most popular search engine in the world. Period.
Whether you want to search for the best place to eat or want access to authentic research papers for your thesis, Google is always there to rescue us. However, the use of Google is not just confined to searching; it can even help your business become more ‘visible.’ Google My Business – GMB is a very popular product by Google, which is playing a significant role in making businesses grow.
If you are using Google My Business to enhance your business’ performance, you need to understand that adding photos to your GMB page is a crucial aspect. Yes, Google collects photos from satisfied customers, but for the best results, you need to add photos. Doing so helps in increasing the chances of customer engagement and even helps in building the trust factor.
So, you want to start adding photos but do not know how to do it? Well, this brief-guide will provide you a step-by-step approach through which you can easily add photos to your GMB page.
Table Of Contents
Adding Photos
Adding photos to a Google My Business page is super easy and does not require you to be a tech-savvy.
Step 1: Take a Picture
First things first, start the process by taking a picture. You can click a picture of your products, the owner of the business, the customers, your setting, and any other part of your business that will attract your customers. Make sure to go through the ‘help’ section to know the size of the images. When you take the pictures, you need to ensure its quality, and it is best to use a high-quality camera.
Step 2: Sign-in GBM
Navigate to the website https://www.google.com/business/ and sign-in to your page by entering the credentials. Once you have signed in, the next step is to navigate to the dashboard, and you will find the option “manage photos,” click the option to proceed further.
Step 3: Choose the Photo Option
The manage photos will open several options on the screen, including profile photo, logo, and cover photos. You can click on “what are these?” on the top right-hand side of the screen. It will provide you a description of each image option. Also, you can see the examples.
Step 4: Add Photos
When you are ready, you can click on “add one now.” You can either drag the image or select photos from a folder in your device.
Types of Photos
Before you start adding photos to your GBM page, it is important that you clearly understand the types of photos that you will or can add.
First Photo
When a customer searches your business or service, they come across the main image. The main image is titled as the ’first photo.’ The first photo is very important, and you need to pay much attention to it. Why? Well, it is the very first image your customer will come across and remember the phrase “the first impression is the last impression?” The image has to reflect the personality of your business.
Logo
The next type of photo that you can add is the logo. As a business owner, you already know how important a logo is for a business. Therefore, adding a logo can, to some extent, enhance the authenticity of your business.
Product Photos
The third type of photo that you can add that will also benefit your business are the product photos. The chances of a customer buying a product without looking at its picture are very low. When you upload the photo of your product, you increase the chances of converting a visitor into a customer.
You can use this guide to add photos to your GMB profile, enhance the visibility of your business to take it to the highest peaks of success!
Top Local Citations by Category
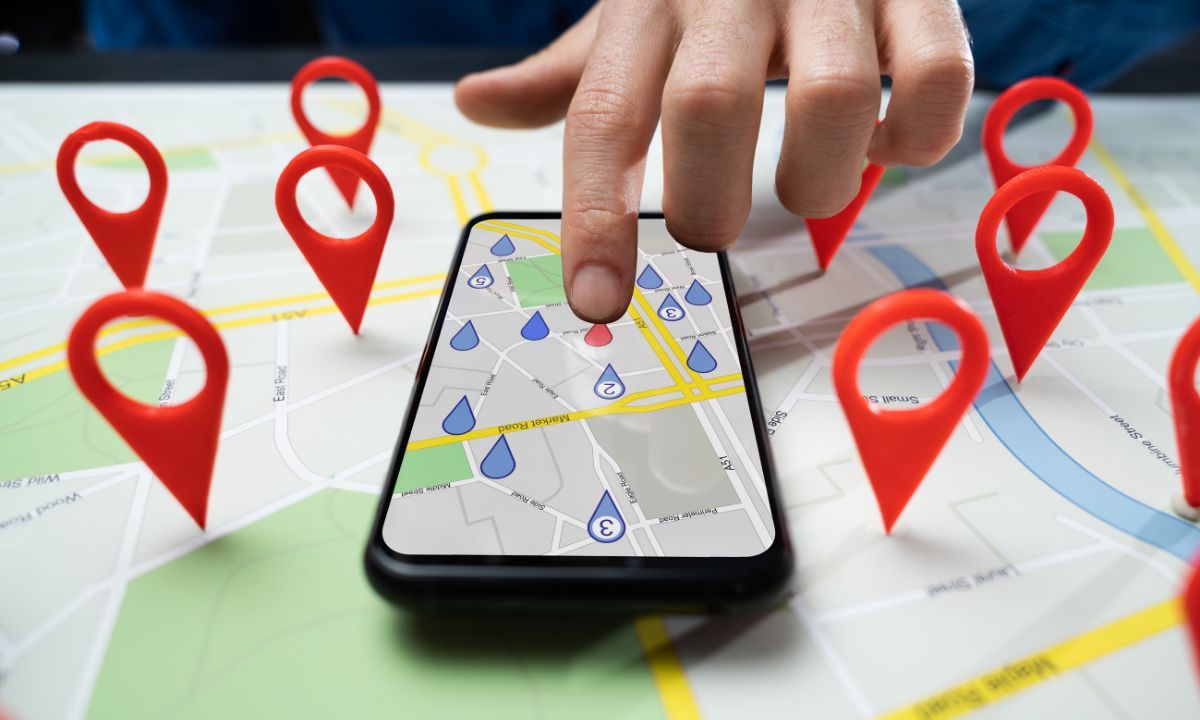
What Does a Local Map Mean
How Often Should I Update My GMB Local Citations
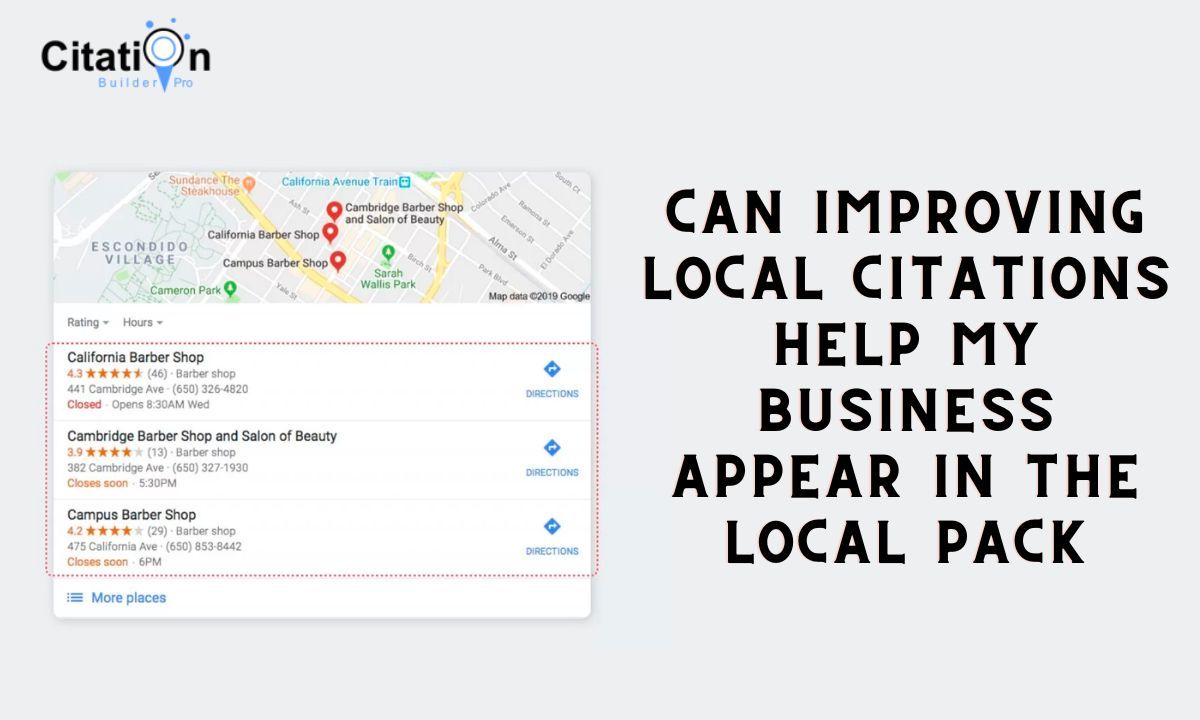
Can Improving Local Citations Help My Business Appear in the Local Pack
How Can I Correct or Remove Inaccurate Citations for GMB

How Do Local Citations Contribute to Gmb’s Local SEO Ranking?
When Speaking About Local Citations Nap Stands For?

I am the founder of Citation Builder Pro. I have been in the SEO and content marketing industry for 15 years and have a lot of experience in public relations and online marketing.
I started Citation Builder Bro to help businesses of all sizes create high-quality citations for their websites. My team and I are dedicated to providing our clients with the best possible services.